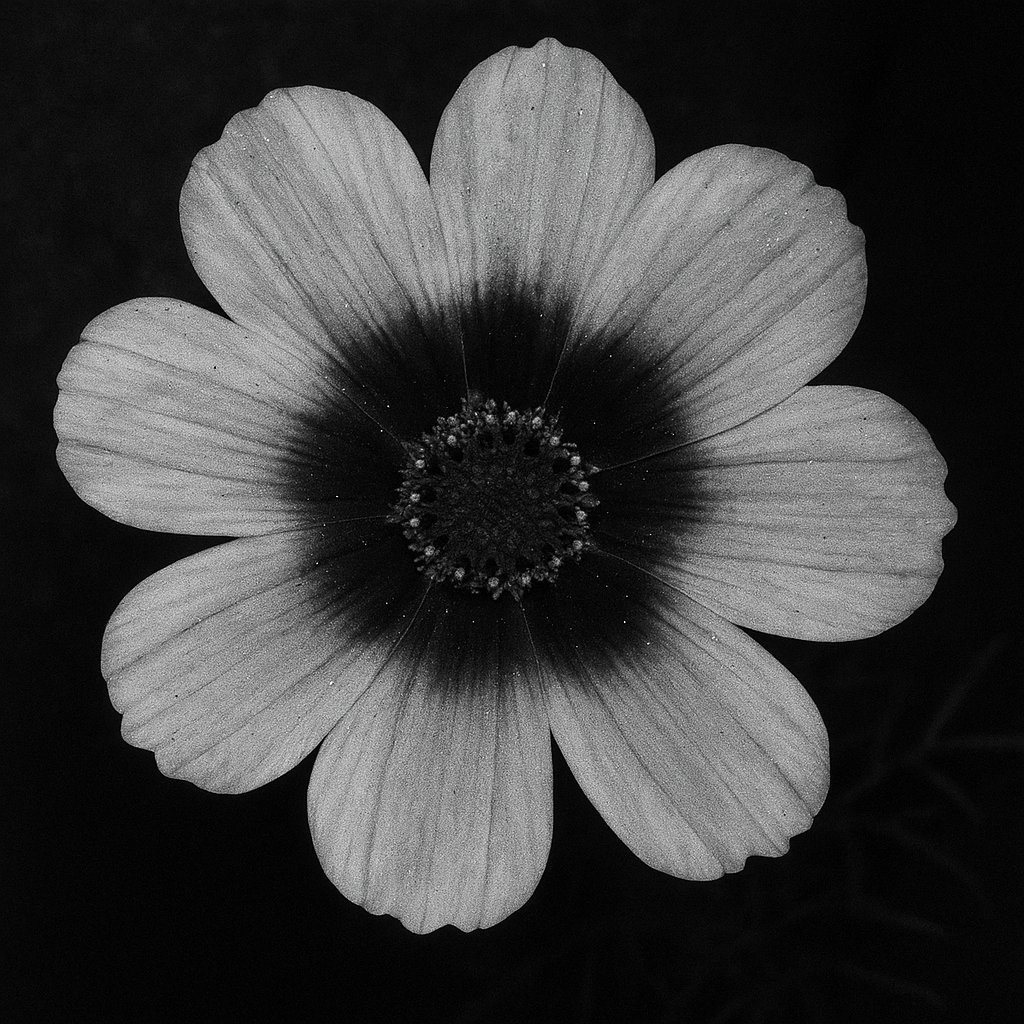
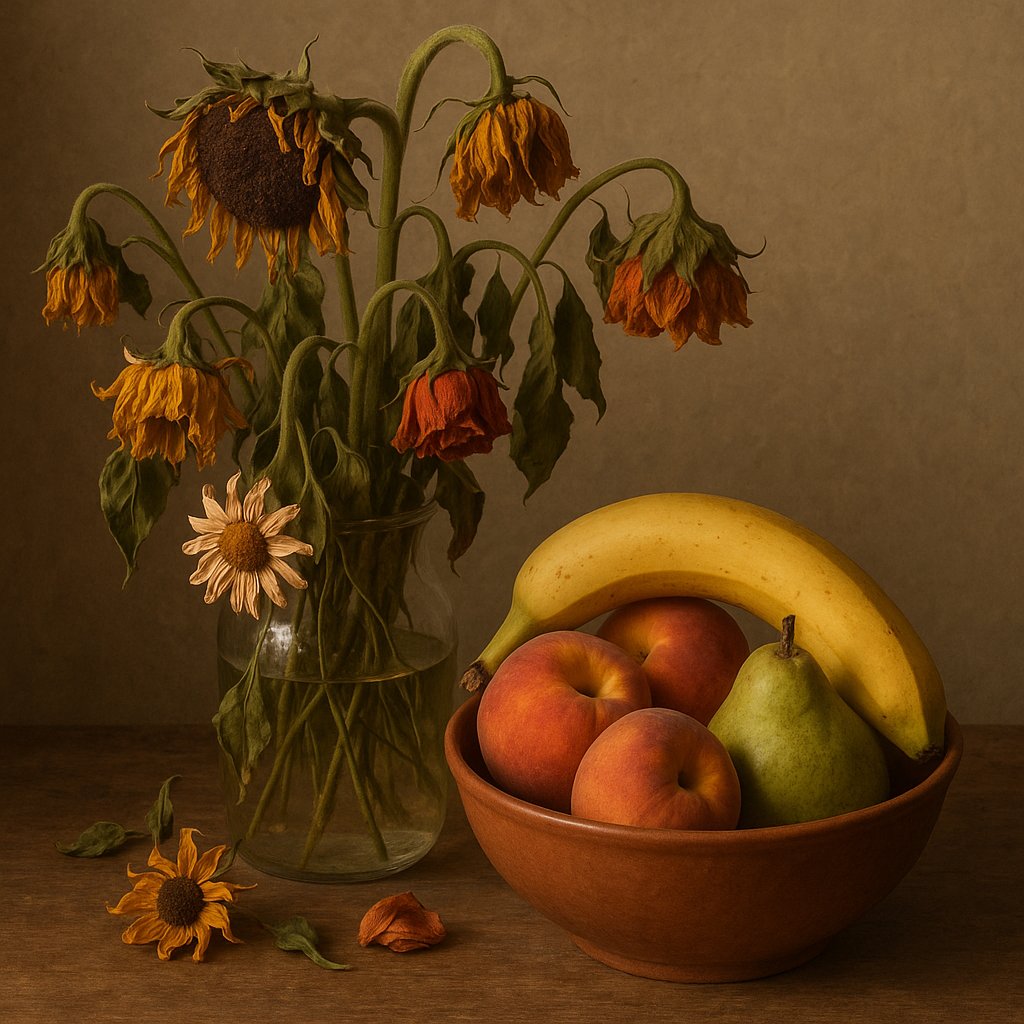
There’s a particular kind of quiet satisfaction in walking past a bouquet you dried yourself months earlier and finding it still holding its shape, its color faded into something softer but somehow more interesting than the original. Dried flowers have moved well past the dusty, brittle arrangements many of us remember from a grandmother’s shelf. Today, preserved botanicals show up in wedding decor, gallery-style wall art, and minimalist home interiors across the country. But getting flowers to dry beautifully – rather than crumbling into potpourri dust – takes a bit of understanding about how plant cells behave once you cut off their water supply.
Why moisture is the enemy (and the ally) of a good dried flower
Flowers are mostly water – often 80 to 90 percent by weight. When you dry them, you’re essentially racing to remove that water before mold, enzymatic browning, or cellular collapse ruins the structure. Remove it too slowly, and fungi get a foothold. Remove it too fast, and petals shatter or curl unnaturally. The goal is controlled dehydration: slow enough to preserve shape, fast enough to prevent decay.
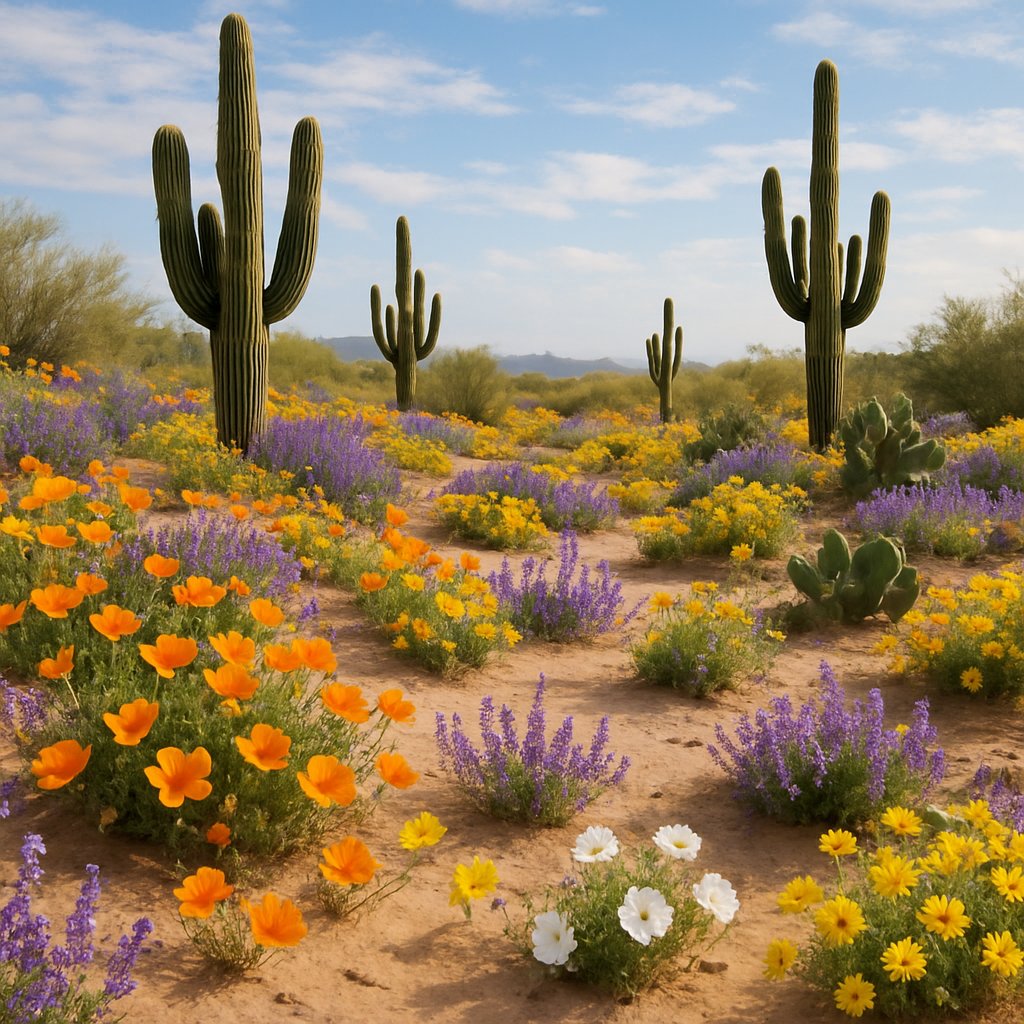
Humidity is the biggest variable most beginners overlook. A flower that dries perfectly in Arizona in July will mildew in coastal Georgia in August. If you live somewhere humid, you’ll need supplemental tools – a dehumidifier in the drying room, or silica gel instead of air-drying – to get consistent results.
Air-drying: the simplest method, and where it falls short
Hanging flowers upside down in small bunches remains the go-to method, and for good reason – it requires no equipment beyond string and a dark, dry space. I’ve had the best luck with strawflowers, statice, lavender, and yarrow, all of which have relatively low water content to begin with and hold their form well.
- Hang bunches upside down so stems stay straight and flower heads don’t droop into odd shapes.
- Choose a dark room if possible – direct sunlight bleaches pigment fast, especially in pinks and purples.
- Keep air circulating with a fan on low; stagnant air invites mold, particularly in dense flower heads like hydrangeas.
- Expect two to three weeks for full drying, depending on flower density and room humidity.
Where air-drying struggles is with high-moisture blooms – roses, peonies, dahlias. These tend to droop, discolor, or rot from the inside before the outer petals even finish drying. That’s where other techniques come in.
Silica gel and desiccants: faster, more precise, and better for delicate blooms
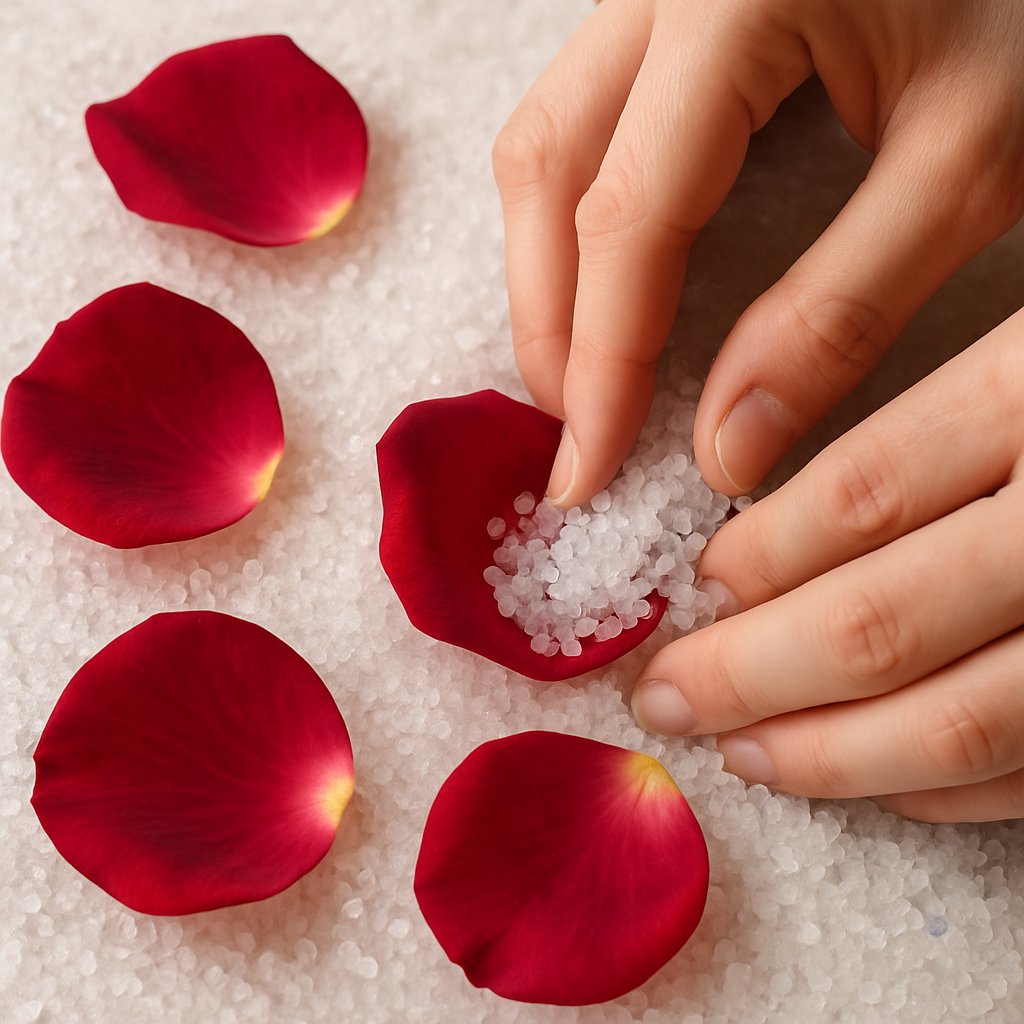
Silica gel drying is essentially the professional florist’s shortcut. You bury the flower head in a container of fine silica crystals, seal it, and let the desiccant pull moisture out over three to seven days – far faster than air drying, and with much better color retention. Roses, peonies, and ranunculus, which turn to mush with air-drying, often come out of silica gel looking almost lifelike.
The trick is patience with the burial process. Pour a base layer of silica in an airtight container, place the flower face-up, then sift more silica gently around and between the petals so they hold their natural shape as the crystals settle. Rushing this step is the most common mistake – crushed or folded petals set permanently once dry.
Silica gel is reusable almost indefinitely if you dry it out in an oven after each use, which makes it a reasonable investment if you plan to preserve flowers regularly rather than as a one-off project.
Pressing: flat, graphic, and surprisingly modern
Pressed flowers have had a resurgence lately, showing up in resin jewelry, framed botanical art, and even phone cases. The traditional flower press with wooden slats and cardboard still works fine, but a heavy book with parchment paper between pages does the job almost as well for casual projects. Thin, flat flowers – pansies, violets, ferns, cosmos – press beautifully in one to two weeks. Anything with a thick center, like a daisy or a sunflower, needs the petals separated from the center first, or you’ll end up with a lump instead of a flat impression.
A quick comparison of methods
| Method | Best for | Time needed | Color retention |
|---|---|---|---|
| Air-drying | Low-moisture flowers, filler greens | 2–3 weeks | Moderate, some fading |
| Silica gel | Roses, peonies, delicate petals | 3–7 days | Excellent |
| Pressing | Flat blooms, foliage, art projects | 1–2 weeks | Good, flattens shape |
| Glycerin soak | Woody stems, eucalyptus, foliage | 1–3 weeks | Retains flexibility and sheen |
The overlooked technique: glycerin preservation
Most people jump straight to air-drying or silica gel and never hear about glycerin preservation, which is a shame because it produces a completely different – and often more durable – result. Instead of removing water, you replace it with a glycerin-water solution (roughly one part glycerin to two parts warm water), which the stem draws up over one to three weeks. The plant material stays pliable, slightly glossy, and far less brittle than dried counterparts. Eucalyptus, magnolia leaves, and ferns respond particularly well, which is why you’ll often see them in long-lasting foliage arrangements at florists rather than delicate air-dried versions.
Keeping preserved flowers looking good for years, not months
Drying is only half the equation – storage determines whether your work lasts. A few habits make a real difference:
- Keep dried arrangements out of direct sunlight; UV exposure is the single fastest way to bleach color.
- Avoid bathrooms, kitchens, or anywhere humidity fluctuates – dried flowers reabsorb moisture and can mold even after they’re fully preserved.
- Dust gently with a small, soft brush rather than compressed air, which can snap brittle petals.
- Store extras flat in acid-free tissue inside a sealed box if you’re not displaying them right away.
Kiwi flower preservationists and hobbyists alike have long complained about one thing – the botanical loses its scent within weeks, even when the color and shape survive for years. If fragrance matters to your decor, a light spray of unscented fixative or a drop of essential oil on the base of the arrangement can help extend the illusion, though it won’t recreate the real thing.
Drying and preserving flowers rewards patience more than skill. Start small – a single stem of lavender or a rose in silica gel – before committing to a full bouquet. Once you understand how a particular flower behaves as it loses moisture, you’ll start choosing techniques instinctively rather than guessing. And if this is your first attempt, don’t be discouraged by one batch of shriveled petals; every dried-flower enthusiast has a story about the arrangement that didn’t survive the process. It’s part of learning how each bloom wants to let go of its water on its own terms.